What can I use as a splashback behind my cooker?
admin2022-05-09T15:01:33+00:00Cooker splashbacks have much more to offer than just protecting your walls behind your cooktop! Interestingly, these new design splashbacks add a creative touch to your kitchen interiors, thereby elevating its attractive appeal. The primary consideration behind the splashback is its ability to withstand high temperatures and common impacts in the kitchen. Also, the cooker splashbacks need to be resistant to splashes and stains that may appear with excessive oil or related ingredients in cooking.
Do you need a splashback behind a cooker?

Kitchen splashbacks are highly useful as they help protect your walls from scratches, spills, and impacts. The area behind the cooker is prone to high temperatures. Intense heat may damage your wall surface and develop cracks. Also, continued usage of utensils near the wall may put scratches on it. The cooker splashbacks will keep your kitchen clean and safe.
Types of kitchen splashbacks to use behind the cooker
Acrylic splashbacks
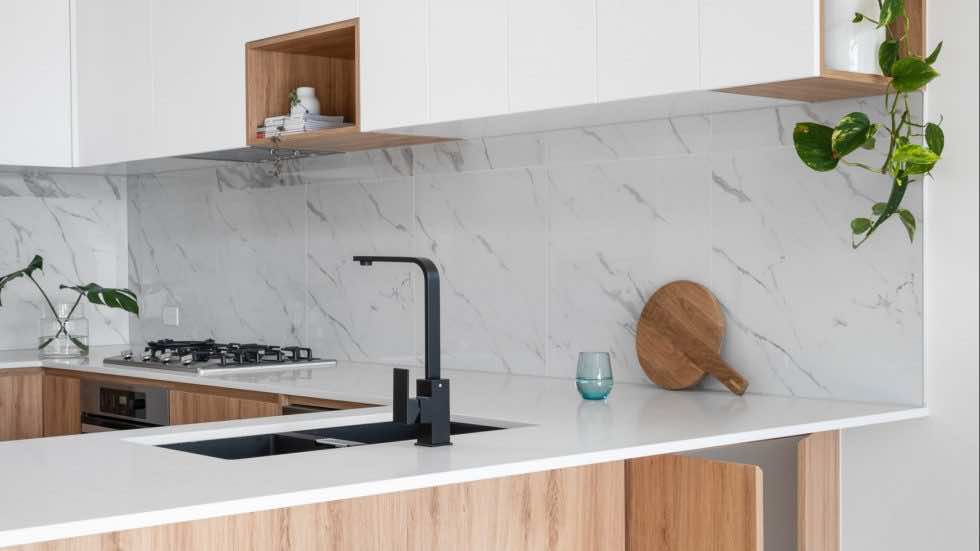
Depending upon your usage, you can select the material and pattern for your splashback. For instance, if you have few members in your family and stove usage is low, you can even consider installing acrylic splashbacks. The acrylic splashbacks are light in weight and come in various designs. However, they are not resistant to high temperatures and are therefore not suitable in heavy-duty kitchens.
Mirror splashbacks

Another option is mirror splashbacks. These splashbacks are highly durable as they are made from 6mm toughened glass. You can quickly put them behind the hob without worrying about the breakage.
Stainless steel splashbacks
Stainless steel is also highly durable and goes well with your utensils as well. It’s effortless to clean as it’s resistant to splashes and stains.
How do you cover a cooker splashback?
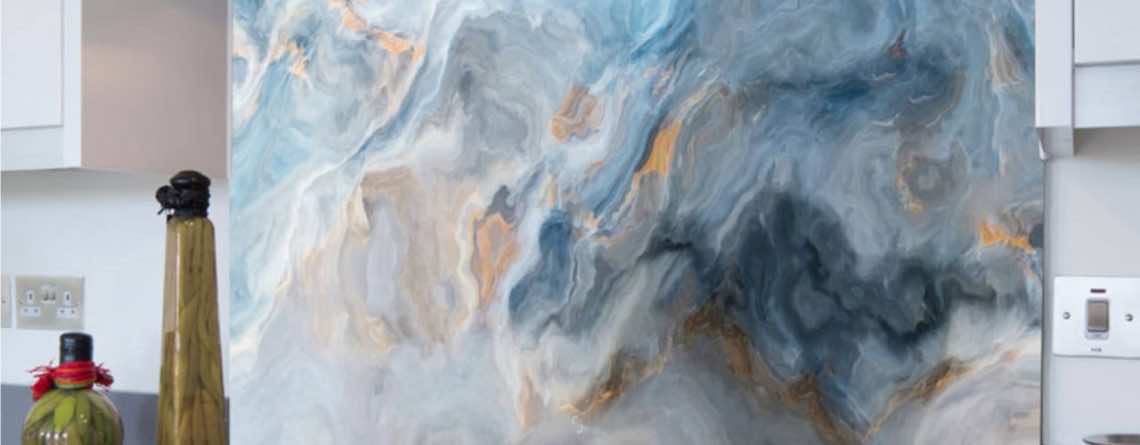
If you have a specific theme in mind or wish to personalize your cooker splashbacks, there is an option of printing on them. You can select the picture of your choice and share it with the manufacturer. Many websites like Unsplash, Envato elements, and Pexels provide you high-quality images for free. You can either select a picture or a pattern depending on the theme of your kitchen. Also, if you opt for a personalized picture, then make sure that its resolution is high, else it will pixelate on enlargement.
Can you put acrylic splashback behind the oven?
It’s not advisable to use acrylic splashbacks in heavy-duty kitchens. However, if your usage is limited, you can go for the acrylic material. Ensure maintaining a minimum distance of 60mm for ceramic hobs and 200mm for gas stoves; else, the acrylic splashbacks would crack due to heat!
Can we use mirror splashbacks for cooker tops?
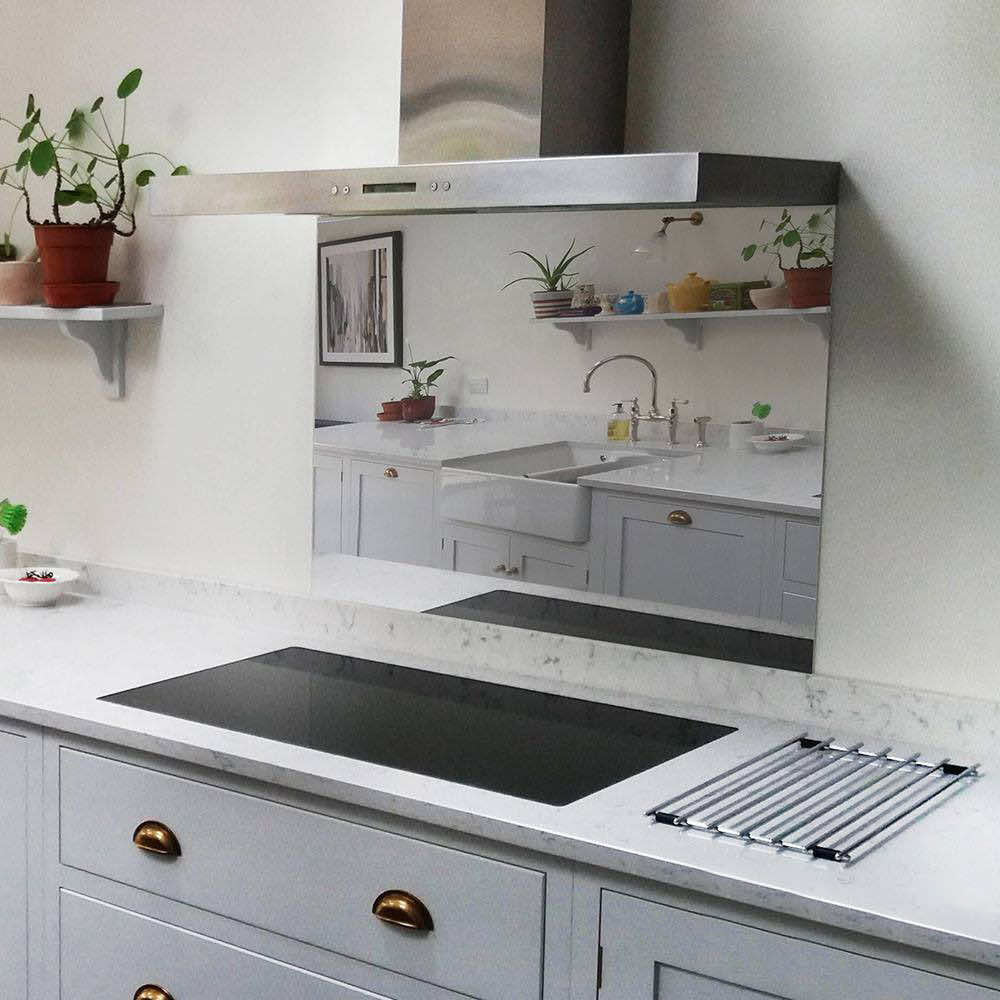
There is a growing trend of using mirror splashbacks in the Irenland. People are resorting to contemporary designs and looking for creative options. Mirror splashbacks offer great versatility when it comes to complimenting the kitchen interiors. They can almost fit in any kitchen, small or large, bright or dark. Mirror splashbacks also don’t interfere with the present theme of your kitchen as they simply reflect the colors that fall on the surface. Another aspect that makes mirror splashbacks a perfect choice for your kitchen is driving the overall space to look bigger. Simply reflecting the light that falls on them, they brighten up your kitchen. Also, they give an illusion of a vast area that is very pleasing to the eyes.
While placing the mirror splashbacks behind the stove, we need to look into functional aspects as well. The first consideration needs to be heat resistant. The mirror splashbacks are made up of 6mm toughened glass and can withstand high temperatures up to 400 degrees Celsius. Don’t go for a cheaper glass as it may develop cracks after some time.
Fitting mirror splashbacks

There are two main ways of fitting a mirror splashback: adhesive or screwing it on the wall. Let’s learn about these methods in detail.
Using an adhesive
This method is more appropriate where the wall is not strong, or you simply can’t drill into it. For that, you need to use an adhesive. Apply the adhesive on the edges of the splashback and then in the middle. Attach the splashback onto the wall from the bottom and then push it slowly upwards. Once you have correctly installed the splashback, you can then put a sealant on the edges for sealing. This will prevent any moisture from seeping into the mirror splashback.
Using screws
First of all, don’t try this on your own. There is a possibility that you may break the mirror. Ask an expert to do it for you. The process is simple. All you need is to drill through the splashback and put the screws on the corners and the edges. Use screw heads of stainless steel so that they merge with the theme of mirror splashbacks.
Cleaning mirror splashbacks
The glass surface is easier to clean than other surfaces like stainless steel, marble, etc. However, you need to clean them regularly as dirt is more prominent than any other splashback. To nullify this effect, using an antique mirror finish can also be considered. However, then you would be compromising on the reflective quality of the mirror.
To clean mirror splashbacks, you can use a soft microfiber cloth and dip it in the cleaning agent. To make sure that the agent does not react with the glass, test a few drops on a corner or on a sample if you have.
Get cooker splashbacks from Dublin Splashbacks
We at Dublin Splashbacks provide you high-quality cooker splashbacks with multiple designs and sizes for customization. We have a wide range of mirror splashbacks, printed splashbacks, sparkle splashbacks, painted splashbacks, and much more. Get in touch with our experts and tell us about your requirements. We would be pleased to serve you the best products in the market. Also, visit our website and explore our extensive collection of kitchen splashbacks designs.

